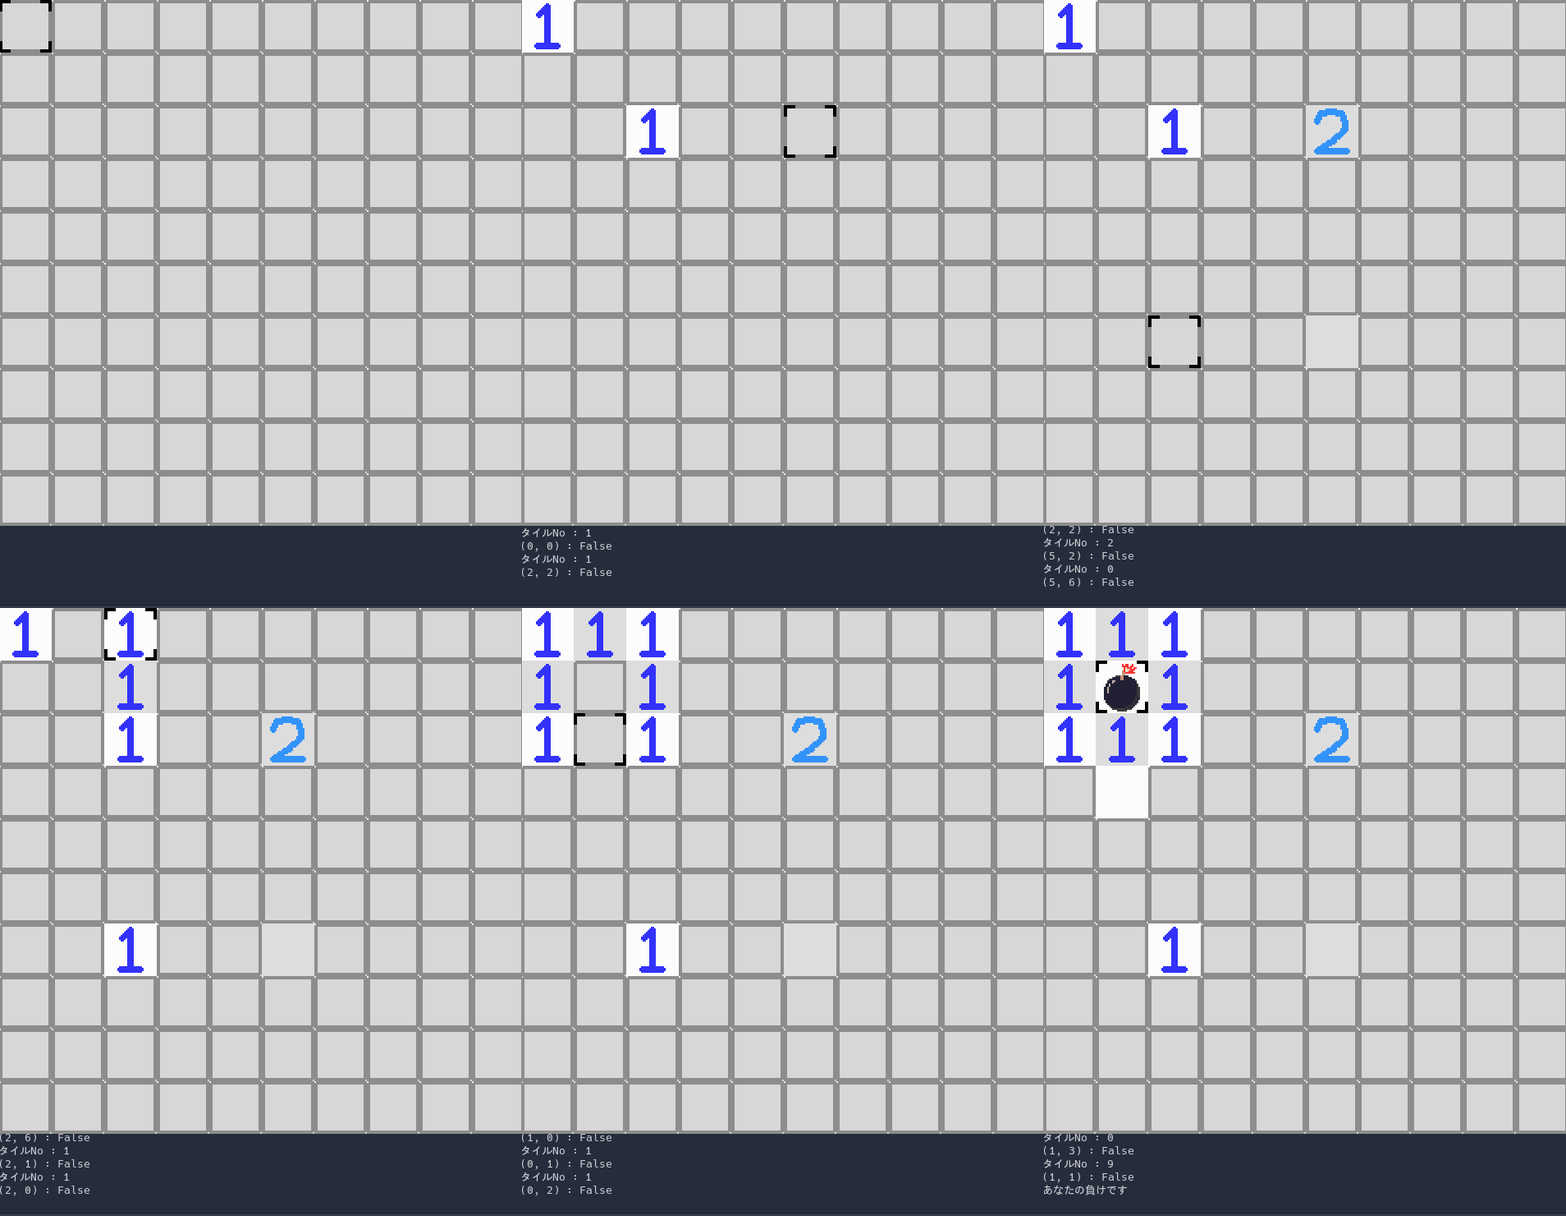
爆弾とヒントの数字パネルを配置した前回
前: 【Godot】マインスイーパーを作ってみた3 - ぬーぶのメモ帳
前回ランダムな位置に爆弾を配置し周囲のタイルで数字が増えるようにしました。

今回はカーソルを動かし隠れたタイルを開くようにしたいです。
カーソルを動かす
最初にカーソルの位置を記憶するための変数 current_position を作ります。
今更ではありますが、変数の名前は自由に付ける事が可能なので自分で分かりやすい名前に変えてもOKです。
# 現在選択しているパネルを格納する変数
var current_position := Vector2(0,0)
次に Godot の備え付けの関数 _input(event) を作成してその中にゲーム操作のコードを順番に追加していきます。
カーソルの上下移動
func _input(event: InputEvent) -> void:
	# それぞれ対応するキーが押されると True を返す変数
	var up = event.is_action_pressed("ui_up")
	var down = event.is_action_pressed("ui_down")
	var right = event.is_action_pressed("ui_right")
	var left = event.is_action_pressed("ui_left")
is_action_pressed() は()内に設定したボタン、キーが押されると True を返すコマンドです。
上記コード()内の名称は Godot のデフォルトで設定されている名称です。
is_action_pressed("インプット名") の前にある event は _input(event) の()内に入っている変数名です。
PCから何かしらの入力(マウス、キーボードなど)が行われた時 変数event に自動で格納してくれます。
そして 入力が格納されたevent が _input(event)内 を上から通り抜けます。
気になる方は print(event) を _input(event)内 に書き込んでコードを実行、マウスを動かしたりキーを押してみてください。
目まぐるしく入力ログが出力されると思います。

移動用とインプット用の変数を作り、二次元配列内の移動とそれにカーソルの画像を合わせる準備が整いました。
current_position 変更コード
func _input(event: InputEvent) -> void:
	## 上に var up = event.is_action_pressed("ui_up") らが書いてある ##

	if up or down:
		if up:
			# キーボードの 上キーを押すと current_position の Y軸 が上に1つズレる
			current_position.y -= 1
			# 変数の Y軸が 0以下になったら Y軸の 最大値までループする仕組み
			# else はこれと逆の処理を行っている
			if current_position.y < 0:
				current_position.y = (cell_y -1)
		else:
			current_position.y += 1
			if current_position.y > (cell_y -1):
				current_position.y = 0

	# 上の処理の X軸 バージョン
	if right or left:
		if left:
			current_position.x -= 1
			if current_position.x < 0:
				current_position.x = (cell_x -1)
		else:
			current_position.x += 1
			if current_position.x > (cell_x -1):
				current_position.x = 0

	# 変更した current_position を カーソル画像に 適応させる
	cursor.position = current_position * cell_size
方向キーを押すたび current_position内の Vector2 の座標を増減させています。
そして増減させた Vector2 を画像のカーソルに利用すれば、カーソルが上下左右に操作できるのが確認できると思います。

またカーソルが画面外に移動するとループするようにしています。
最大値を (cell_x -1) としてるのは、現状10 X 10 のマス目ですがもしかしたら 15 X 15 などマス目を大きくしたくなるかもしれません。
(今回作ったコードだと、_ready() 関数の 初期設定の中で 二次元配列のY軸 を for x で作らないといけませんが)
その時 cell_x ではなく直接数字で書き込んでいた場合、全部の数字を1つ1つ直すのは面倒すぎです。
頻繁に拡張や変更する予定のあるものは、変数を使用した方が楽だと教わりました。
current_position を操作できるようになったので、選択したマス目のデータを取得できる準備は完了。
_input(event) に取得するコードを追加します。
if Input.is_action_just_pressed("ui_accept"):
		# タイル番号とマスの座標を表示
		print("タイルNo : ", num_tile.get_cellv(current_position))
		print(current_position)
Enterキー を押すと選択した位置の Vector2 と タイル番号 を取得します。
print()…()内に""で文字を出力したり、変数がちゃんと入ってるか確認したり何かとお世話になる。
上のコードも加えると、現在 _input関数内はこうなっています。
func _input(event: InputEvent) -> void:
	var up = event.is_action_pressed("ui_up")
	var down = event.is_action_pressed("ui_down")
	var right = event.is_action_pressed("ui_right")
	var left = event.is_action_pressed("ui_left")


	if event.is_action_pressed("ui_accept"):
		print("タイルNo : ", num_tile.get_cellv(current_position))
		print(current_position)


	if up or down:
		if up:
			# キーボードの 上キーを押すと vector2 Y軸 が上に1つズレる
			current_position.y -= 1
			# 変数の Y軸が 0以下になったら Y軸の 最大値までループする仕組み
			# else はこれと逆の処理を行っている
			if current_position.y < 0:
				current_position.y = (cell_y -1)
		else:
			current_position.y += 1
			if current_position.y > (cell_y -1):
				current_position.y = 0

	# 上の処理の X軸 バージョン
	if right or left:
		if left:
			current_position.x -= 1
			if current_position.x < 0:
				current_position.x = (cell_x -1)
		else:
			current_position.x += 1
			if current_position.x > (cell_x -1):
				current_position.x = 0


	cursor.position = current_position * cell_size
コードを実行すると方向キーで選択、Enterキーを押すとその位置の座標、パネルの番号が Godot下部の 出力ウィンドウに表示されると思います。

選択したタイルに判定をつける
任意のパネルを取得できるようになったので選択したタイルに判定をつけてみたいと思います。
具体的に言えば 爆弾のパネル(No9)を取得したらゲームオーバー になる、といった感じです。
まずは ゲームオーバー判定の変数を作成。
# ゲームオーバー判定
var game_over := false
次に _input(event) にゲームオーバー時のコードを追加します。
func _input(event: InputEvent) -> void:

	if game_over:
			return
ゲームオーバーになると return だけなので _input の命令を 現状 何も返さないようになります。
後で新規ゲームを開始できるように命令を追加していきます。
このまま _input にタイル判定のコードを書くとゴチャゴチャになりそうなので新しい関数を作成して、それを _input 内で使いたいと思います。
func tile_check(pos: Vector2) -> void:
	# 数字を隠しているカバータイルを透明にする
	cover_tile.set_cellv(pos, 0)

	# pos 内の Vector2 からタイル番号を取得
	# タイル番号が 9 だった場合 game_over フラグを true にする
	var number = num_tile.get_cellv(pos)
	if number == 9:
		print("あなたの負けです")
		game_over = true
		return
ここにきて初めてカバー用のタイルマップに触れています。
現状何も設定していないのでこの後 _ready() 関数内の初期設定に命令を足します。
tile_check(pos: Vector2) は備え付けの関数でなく作ったものになります。
自身の作った関数であっても、_input(event) の event のように()内に変数を指定することができます。
名前は pos ition の頭文字3つからとっていて、データの種類も指定でき Vector2 となっています。
データの種類を指定すると違うデータを入れた時コードを実行しなくてもエラーで教えてくれます。
それではこの関数を _input の if event.is_action_pressed("ui_accept") の中に入れてコードを実行してみます
func _input(event: InputEvent) -> void:
	# それぞれ対応するキーが押されると True を返す変数
	var up = event.is_action_pressed("ui_up")
	var down = event.is_action_pressed("ui_down")
	var right = event.is_action_pressed("ui_right")
	var left = event.is_action_pressed("ui_left")

	# 足したゲームオーバー
	if game_over:
			return


	if event.is_action_pressed("ui_accept"):
		print("タイルNo : ", num_tile.get_cellv(current_position))
		print(current_position, " : ", map_flag[current_position.y][current_position.x])


		# tile_check(pos) は Vector2 を指定しているので
		#current_position を入れる事で現在選択しているタイルを処理することができる。
		tile_check(current_position)
		return

	## この下に if up or down: のコードが続いている ##

※出力ウィンドウの false は次回の項目で行うのでスルーして下さい…
爆弾のタイルを選択して操作を受け付けなくなったら成功です。
カバータイルを設定する
先ほど述べたように _ready 関数に カバータイルをしきつめるようコードを足します。
func _ready() -> void:
#	for x in cell_x:
#		for y in cell_y:
#			var cell_position := Vector2(x, y)
#			map_cell[x].append(cell_position)
#			map_flag[x].append(flag)

			# 配列を利用して一つ一つ埋まっていく
			cover_tile.set_cellv(cell_position, 1)


#	set_mine()
#	num_plus()
どうでしょう、上手くいくと画面が灰色に覆われて何も見えてない状態になっていると思います。

この段階でも、Enterキーで選択すると隠れたパネルを開いて遊ぶことができます。

…とは言え、ちょっと遊びにくいです。
本物のマインスイーパーを見てみましょう。
本物は空のタイルをクリックした時、他の空タイルも一緒に消えています。
対して今作っている物は空タイルに当たっても一緒に消えてくれません。
これには 再帰処理 と言う命令を行うことになりますが、
プログラムに慣れていない人にとっては何が何やらといった感想になると思います。
(自分もかなり苦戦しました・・・)
次回は check_tile に 再帰処理 という命令を行わせたいと思います。
説明できるほど理解できていませんが調べて、真似て、試したら動作したよ…と見ていただければ。
現状のコードをすべて合わせるとこうなります。
#extends Node2D

onready var num_tile: TileMap = $num_tile
onready var cover_tile: TileMap = $cover_tile
onready var cursor: Sprite = $Cursor


const cell_size := 32

var cell_x = 10
var cell_y = 10

export var mine := 10

# ゲームオーバー判定
var game_over := false

var map_cell := [
	[],
	[],
	[],
	[],
	[],
	[],
	[],
	[],
	[],
	[],
]


func _ready() -> void:
	for x in cell_x:

		for y in cell_y:
			var cell_position := Vector2(x, y)
			map_cell[x].append(cell_position)

			# カバータイルの処理
			cover_tile.set_cellv(cell_position, 1)

	set_mine()
	num_plus()


func set_mine()-> void:
	randomize()
	for i in mine:
		var rand_tile = map_cell[randi() % cell_x][randi() % cell_y]

		var get_tile = num_tile.get_cellv(rand_tile)

		while get_tile == 9:
			randomize()
			rand_tile = map_cell[randi() % cell_x][randi() % cell_y]
			get_tile = num_tile.get_cellv(rand_tile)

		num_tile.set_cellv(rand_tile, 9)


func num_plus()-> void:
	for x in cell_x:
		for y in cell_y:

			var get_tile = num_tile.get_cellv(map_cell[x][y])

			if get_tile == 9:
				var current_tile = num_tile.to_global(map_cell[x][y])
				var offset = [
					Vector2(current_tile.x -1, current_tile.y -1),
					Vector2(current_tile.x, current_tile.y -1),
					Vector2(current_tile.x +1, current_tile.y -1),
					Vector2(current_tile.x -1, current_tile.y),
					Vector2(current_tile.x +1, current_tile.y),
					Vector2(current_tile.x -1, current_tile.y +1),
					Vector2(current_tile.x, current_tile.y +1),
					Vector2(current_tile.x +1, current_tile.y +1),
					]

				for pos in offset:
					# pos に Vector2 の情報が入っている
					var vec = num_tile.get_cellv(pos)

					if vec == 9:
						pass
					else:
						num_tile.set_cellv(pos, vec +1)


func _input(event: InputEvent) -> void:
	# それぞれ対応するキーが押されると True を返す変数
	var up = event.is_action_pressed("ui_up")
	var down = event.is_action_pressed("ui_down")
	var right = event.is_action_pressed("ui_right")
	var left = event.is_action_pressed("ui_left")

	# ゲームオーバーになると 暫定的に 操作を受け付けないようになる
	if game_over:
			return

	# Enter を押すと 選択した位置と タイルの番号を取得
	if event.is_action_pressed("ui_accept"):
		print("タイルNo : ", num_tile.get_cellv(current_position))
		print(current_position])

		# 選択した位置のタイルを処理する関数
		tile_check(current_position)
		return


	if up or down:
		if up:
			# キーボードの 上キーを押すと vector2 Y軸 が上に1つズレる
			current_position.y -= 1
			# 変数の Y軸が 0以下になったら Y軸の 最大値までループする仕組み
			# else はこれと逆の処理を行っている
			if current_position.y < 0:
				current_position.y = (cell_y -1)
		else:
			current_position.y += 1
			if current_position.y > (cell_y -1):
				current_position.y = 0

	# 上の処理の X軸 バージョン
	if right or left:
		if left:
			current_position.x -= 1
			if current_position.x < 0:
				current_position.x = (cell_x -1)
		else:
			current_position.x += 1
			if current_position.x > (cell_x -1):
				current_position.x = 0

	# カーソルの画像が選択している場所に配置されるようになる
	cursor.position = current_position * cell_size


func tile_check(pos: Vector2) -> void:
	# 数字を隠しているカバータイルを透明にする
	cover_tile.set_cellv(pos, 0)

	# pos 内の Vector2 からタイル番号を取得
	# タイル番号が 9 だった場合 game_over フラグを true にする
	var number = num_tile.get_cellv(pos)
	if number == 9:
		print("あなたの負けです")
		game_over = true
		return
